Monthly Archives: October 2013

Does The Deep Litter Method Really Work? A Report One and a Half Years In

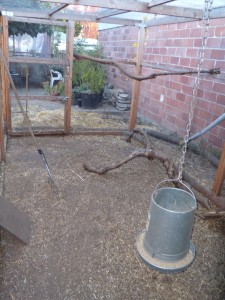
We decided early on to use the “deep litter method” in our chicken coop. We didn’t want to spend our time scraping chicken poop off a hardpan dirt floor. The girls have seemed to enjoy their straw floor (though they’re terrified when we move the straw around), and we sprinkle in more whenever things start to smell. It really hasn’t smelled, and we feel our deep litter experiment has been a great success.

Though people generally do a thorough cleaning once a year in deep litter chicken coops, late May (the anniversary of the chicken’s coop move-in) came and went, and we just didn’t get around to it. We are really busy and kind of lazy, so if something doesn’t obviously need doing, we don’t always get around to it.

Yesterday I had a positively heavenly day of poking around in the garden—the first such day in months. For most of the day, it was ADD gardening: I wandered around pulling weeds as they caught my eye, sweeping paths, and lying down between beds to watch the sky and enjoy the unseasonable warmth.

In the late afternoon, I realized I should apply myself toward mucking out the coop. An hour and a half and seven full wheelbarrows later, I was hungry, cranky, sorry for myself, and finished cleaning the coop.

Rather than refill with fresh straw, Kelly and I took advantage of a bin of newly raked leaves, provided by our fabulous neighbors. We are excited to try this straw alternative for several reasons. First, leaves are free; second, they bring more insect life into the coop for the girls to enjoy; and third, these leaves are organic. We have yet to find organic straw, and shudder to think what herbicides the girls (and the soil) are exposed to.

Here’s to another year of deep litter!

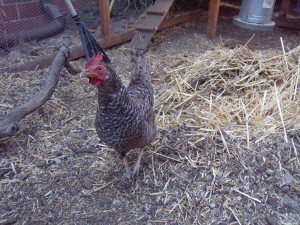
Petunia--always one to keep us in line.

Petunia–always one to keep us in line.

I raked up the old straw and carted across the garden in a wheelbarrow.

I raked up the old straw and carted across the garden in a wheelbarrow.


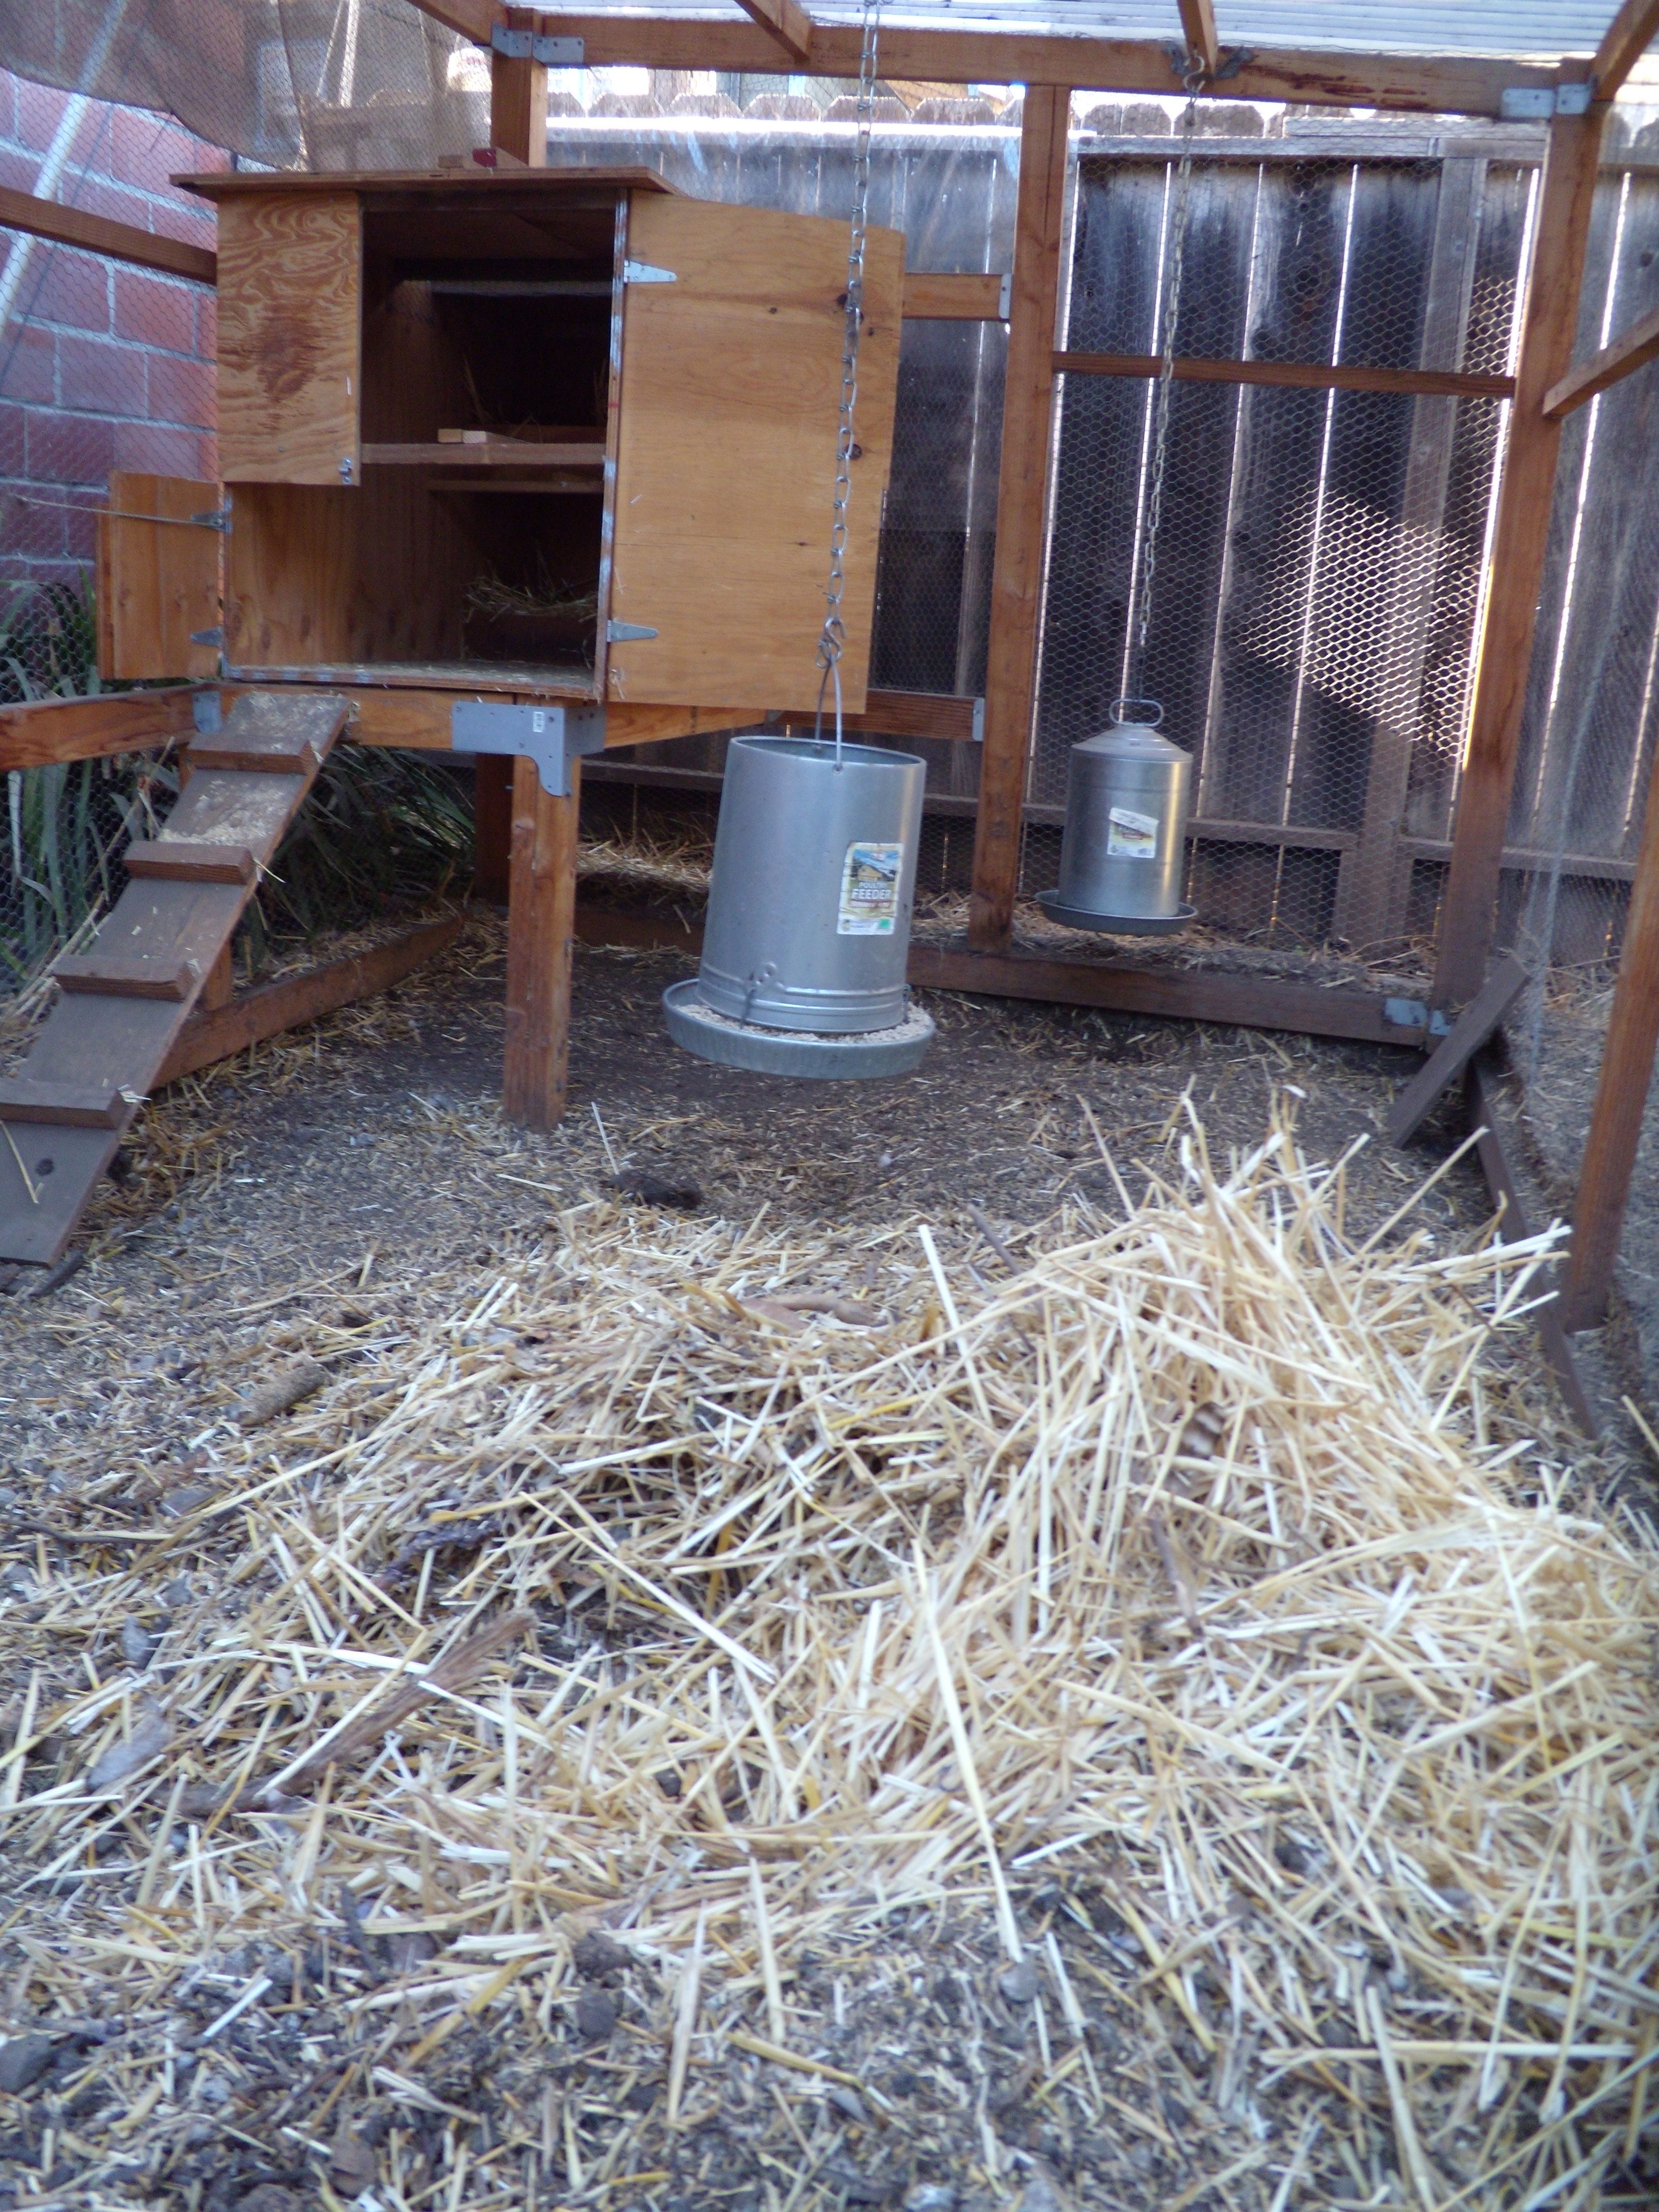
As the coop looked when I'd finished raking. The chickens were so flustered by the raking process that Kelly took them out for a supervised walk in the garden.

As the coop looked when I’d finished raking. The chickens were so flustered by the raking process that Kelly took them out for a supervised walk in the garden.


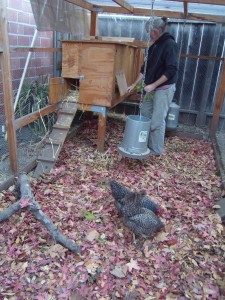
The girls explore their new turf. We will see how the leaves perform compared with he straw.

The girls explore their new turf. We will see how the leaves perform compared with he straw.

Fall Blooming Plants for Bees

While the chickens ran around one evening, I planted some new plants in the pollinator bed: Sedum ‘Autumn Joy,’ Zauschneria ‘UC Hybrid,’ Gaillardia ‘Golden Halo,’ and an ornamental Oregano called ‘Brittany Show.’ Additionally, I replaced the dead sorrel and Agastache foeniculum (Hyssop) in the herb bed with Stevia and Agastache foeniculum ‘Golden Jubilee’ (‘Golden Jubilee’ Hyssop).

Our bees are having a hard time this fall. When Sarah and I inspected hives in July, we thought we were in for a bumper crop of honey. When I started going out in early September, however, I discovered a different story. Most of our hives don’t seem to have enough stores to get through winter.

Many beekeepers in our area are experiencing the same phenomenon. The consensus is that our mild winter and cool summer pushed the plants that comprise our summer nectar flow to bloom much earlier, and that our lack of usual rainfall reduced nectar production. The bees accordingly were up to their roofs in honey back in July, then started using their stores as summer wore on (US Honey Report September 2013).

While ‘Fall is for planting’ might have begun as a marketing ploy for nurseries to encourage sales during a slow time, it is a great time to plant. And, it’s an especially great time to plant fall bloomers for the bees. Here’s a list of plants I see humming with activity in my travels. They do well in USDA Zone 9b, but many will perform in other zones, too (click on the link to find your zone).

  •  Agastache species: Both the herb (A. foeniculum or Hyssop) and ornamental species (especially A. mexicana and A. aurantiaca cultivars & hybrids) attract bees, but the ornamental species bloom all summer and fall for us. I’m not sure how bees get to the nectar, because the flowers are long, but they must.
  • Alyssum: An annual that takes care of itself. Bees hit it when there’s not much else happening, like now.
  • Baccharis pilularis & cultivars/Coyote Brush: A California native not necessarily attractive enough for a small garden, but good for hot slopes and farther-away spots.
  • Basil: It’s hard to let basil go to flower, because the leaves become spicy and bitter, but if you do, the bees will come in droves. I like to cut basil back on rotation: I cut a few plants back for me, and leave others in flower. Then I return and cut back the ones in bloom, and leave the ones I’ve been harvesting to flower and so on.
  • Borage: Always a favorite, whenever it is blooming. Ours reseeds itself all year long, and blooms whenever it’s ready till late fall.
  • Caryopteris x clandonensis cultivars, such as ‘Dark Knight’ and ‘Blue Mist’/Bluebeard: This is a woody, deciduous perennial/sub-shrub that most folks around here don’t appreciate. That’s too bad, because it is one of the best fall bloomers for bees.
  • Cuphea hyssopifolia/Mexican Heather: This one surprised me, but I have seen bees on it throughout the year, especially in fall. This plant has faded from the nursery scene around here because it freezes most winters, but I have some clients who still have it, and it’s a keeper.
  • Gaillardia grandiflora cultivars/Blanket Flower: A bee favorite, but not always a long-lived perennial, especially if it gets too much water. ‘Oranges & Lemons’ often blooms year-round for us. Gaillardia is worth it, even if it’s short-lived.
Gaillardia 'Golden Halo'

Gaillardia ‘Golden Halo’

  • Lavandula stoechas & varieties/Spanish Lavender: Reblooms for us about now, and much appreciated by bees, who generally love lavender.
  • Loquat: This might be a winter bloomer, but ours is blooming now this year.
  • Nepeta x faasseni and cultivars/Catmint: Follows up its summer bloom with a lesser show through fall.
  • Origanum vulgare/Oregano: The edible oreganos, both Greek and Italian, bloom about mid-summer through fall. Italian oregano in particular gets rangy and the bees’ activity on it never really slows, so I always struggle to decide when to cut it back. This year, I cut it back in stages (see Basil above). It’s already reblooming.
  • Rosmarinus officinalis ‘Irene’/’Irene’ Trailing Rosemary: A trailing form that stays flatter, and seems to bloom most of the year.
  • Salvia chiapensis/Chiapas Sage: For us, blooms nearly year-round, until it gets very cold. In fall, it is much visited.
  • Salvia ‘Hot Lips’/’Hot Lips’ Sage: Another year-round favorite, till it gets cold. You’ll also see hummingbirds and various native bees on this one.
  • Sedum spectabile cultivars: Definitely a bee favorite. I only wish it had secondary blooms and bloomed longer.
  • Thymus/Thyme: Another herb that blooms summer and early fall, or longer, depending on how much water you give it. English thyme seems to bloom longest, and the creeping or groundcover cultivars will throw a smaller second bloom in fall.
  • Trichostema lanatum & cultivars/Woolly Blue Curls: A California native that blooms in the pollinator bed nearly all year, till it gets very cold. I have read that the honey from Trichostema crystallizes quickly.
  • Vitex agnus-caste/Chaste Tree: Begins blooming in later summer and continues into early fall. It really does turn into a tree if you don’t prune it hard every year, but even then it gets large. Luckily, there are some smaller selections, such as ‘Amiguita.’

Homemade Plum Wine, 2013

I learned a few lessons last year making plum wine for the first time (Plum Wine Results). I’m not sure which is most important, but the number one change I made this year was using ripe fruit. Of course, the plums ripening coincided with my family’s annual get-together, so before I left, I went through boxes of fruit on a daily basis, bagged ripe plums, and stuck them in the freezer, whole.

Juicing the plums

When I finally had time, I thawed the plums overnight in a big plastic crate and began juicing. As I did last year, I juiced by hand, squeezing fruit then tossing it into a fine-mesh nylon bag strapped over a 5-gallon bucket. When the fruit pulp had reached about the size of a soft ball, I held the mesh bag in one hand and squeezed and milked with the other until I felt satisfied with the amount of juice extracted. If you have help, you can wait till the pulp is bigger in mass before squeezing. I was working by myself, and the softball size worked well for my hand size.

Plastic crate to left; juiced plum debris for liqueur in middle; me and my softball-sized bag of squished plums to juice in foreground. I juiced directly into the bucket that I used for my primary fermentation.

Plastic crate to left; juiced plum debris for liqueur in middle; me and my softball-sized bag of squished plums to juice in foreground. I juiced directly into the bucket that I used for my primary fermentation.

Since last year’s plum liqueur was the true star of the season, I didn’t try to squeeze every last ounce of juice out of the pulp. I figured some juice would be useful in this year’s batch of plum liqueur.

Starting the wine

I ultimately produced about 5 gallons of juice. I ended up freezing half a gallon, and used the remaining 4.5 gallons for the wine. I added campden tablets, even though I had frozen the fruit, because the juice sat out for periods in the kitchen. The recommended rate is 1 tablet per gallon of ‘must.’

I have also semi-graduated to wine-speak, mostly so I don’t make an ass out of myself when I go ask questions at the brew shop.

One difference between the process I follow (courtesy of our friend Richard) and recipes I have found online is I use straight juice versus smashing fruit and adding water. It is recommended to allow the must and campden tablet mixture sit at least 24 hours – and no more than 48 – before beginning the process of making wine.

When I was ready to proceed, I added sugar at a ratio of one pound to one gallon of  must, again per Richard’s recipe. This time, instead of dissolving before adding, I added straight to the bucket, and stirred and stirred until the sugar was dissolved. After I added and dissolved the sugar, I scooped out some of the must and made my yeast mixture in a pint jar that I had sterilized.

Adding the yeast

Last year I used champagne yeast, and sure enough, my wine had an off-flavor of champagne. So this year, I used EC-1118, also recommended for fruit wines. While it is also a champagne yeast, I thought it might yield a wine a little less dry than the champagne yeast. At least, that’s what the guy at the brew shop lead me to believe.

Once the yeast started taking off, which took about 15-20 minutes, I gently poured it across the surface of the must, as I had read somewhere I should do, then covered my bucket with another mesh bag, bungee-corded in place.

If you want a clear wine, you can also add pectic enzyme. This helps break down the pectin in the juice, so that the resulting liquid is clear versus opaque. I didn’t add pectic enzyme because I’m ok with the opaqueness. It’s not a displeasing murkiness; it’s just opaque, and the color is vibrant. I used Santa Rosa plums, so the color is a rich magenta. If you want to use pectic enzyme, I think the recommended rate is 1 teaspoon per gallon of must.

The primary fermentation

Back to my bucket: I have read tons of talk on brewing and wine-making forums about yeast and oxygen and oxygen and oxidization. Richard’s original recipe had his must and yeast working away for a week or so in a bucket covered with panty-hose before he racked and transferred to a carboy. I did that last year, but this year, I let the bucket sit like this for 48 hours, before securing the lid and air-lock in place. It seemed like a good balance between letting the yeast proliferate in the presence of oxygen and sealing the wine off from oxygen.

As it is, the yeast went nuts before I secured the lid and airlock. I believe this is largely due to the location of the bucket – about 6′ away from the oven – and one 36-hour jam session. The must actually rose all the way to the top of the 6-gallon bucket before collapsing. Yikes. Some forums say the yeast going fast and hard can affect the flavor of the wine, so I am concerned about the eventual flavor. But it is also known that champagne yeasts go hard, so I am keeping my fingers crossed.

After securing the lid and air-lock (my bucket has a pre-drilled hole that fits a #6 or #6.5 rubber stopper, into which an air-lock fits), I left the wine alone for a few days before looking into the bucket via the hole to monitor the activity. I believe it took about 6 days for most of the activity to die down.

First racking

At this point, I racked the wine into my glass carboy, which I had sterilized. I didn’t have a racking cane, which I do now, so I aimed the spigot at a funnel seated in the carboy and lined with a mesh bag, and turned ‘on’ the spigot. The spigot was about 6-8″ away from the funnel to minimize splashing and oxygenation. There was a lot of debris!

Last year’s wine also was not sweet enough, which I did not realize until we had bottled it. So, after racking into the carboy, I added 2.5 more pounds of sugar directly into the carboy. I swirled this around until it was dissolved, then wrapped the carboy with a towel to protect it from light and put it to rest under the dining table.

The secondary fermentation, second racking & first taste test

After a few days, more yeast activity showed. This went on for about a week and a half or two weeks, until the yeast dropped to the bottom of the carboy. I ultimately let the wine sit in the carboy for about a month before racking again. That’s where it stands now.

As I mentioned, last year’s wine was not sweet enough for us. And, after tasting some of this year’s batch during this second racking, I can say it still isn’t sweet enough. This year, however, I know to back-sweeten BEFORE bottling, which is my plan. I think I’ll let the wine sit for awhile before adding sugar, on the off-chance that any yeast might still be present, and hungry.

Always more to learn

Next year, I think I’ll double the sugar ratio, say, two pounds per gallon of must vs. one pound per gallon. I hesitate to make too sweet of a wine, and it’s also possible that the wine, once aged, will be tasty enough as is. The learning curve continues.